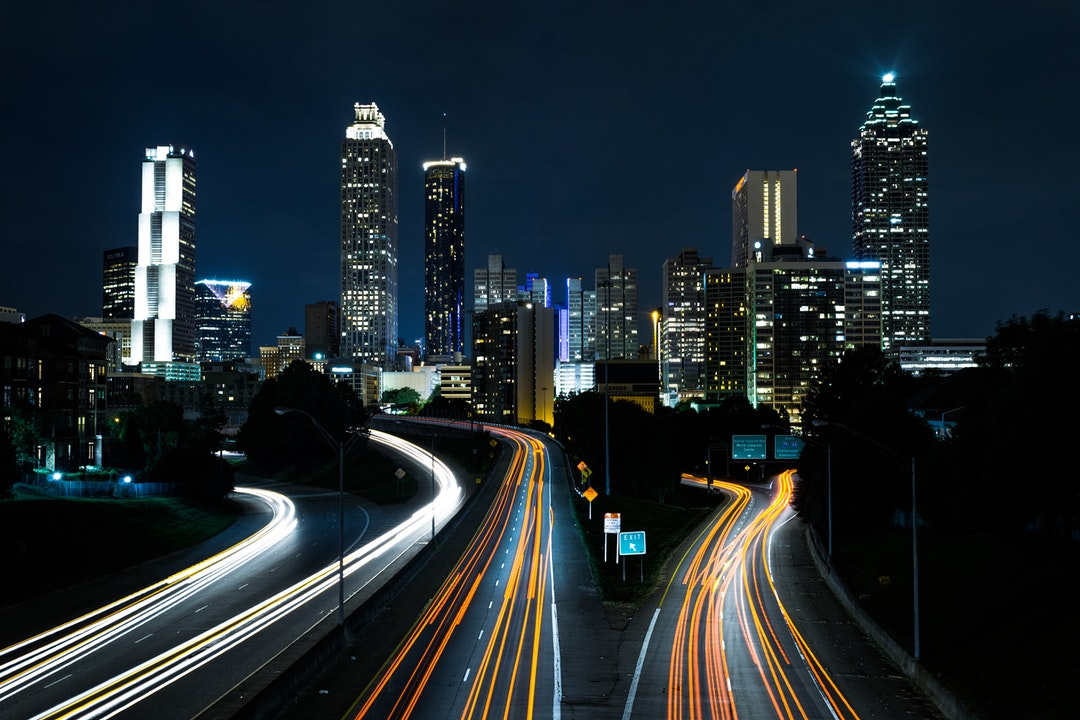
Time lapses are becoming all the rage across many industries. Research shows that they increase brand engagement and boost memory retention. So, if you are in business, a time-lapse video is a great tool to add to your kit.
The question is how you put one together that is grounded and impressive, not gimmicky and cheap. Today we look at how to shoot and edit a time-lapse video. Read on to know more.
Preparation: What You Need to Shoot a Time-Lapse Video
You’ll need to choose your shooting location and figure out the best way to set up your camera. Once you have your camera in place, determine your shooting interval. This is the amount of time between each photo that you take.
Once you have your interval set, set up your camera to take photos for the length of time that you want to capture. And finally, edit your photos into a video format. This can be done with various software programs. Editing your time-lapse video will allow you to put the finishing touches on your project.
The Gear: Camera Settings and Other Equipment
Before shooting a time-lapse video, you need the right gear. A DSLR camera is best for shooting time lapses. With this, you can change the settings to get the best possible shot. For other options, you can find outdoor timelapse camera here.
Set the shutter speed to a low number, like 1/30 or 1/60. This will let more light into the camera and create smoother shots. Next, set the aperture to a higher number, like f/8 or f/11, to make the shots sharper. Finally, set the ISO to a low number, like 100 or 200, to prevent the shots from being too grainy.
Once you’ve got the settings figured out, it’s time to start shooting. Timelapse videos are best shot in RAW format, so your editing software will have more to work with.
The Shoot: Tips for Capturing the Best Time-Lapse Footage
Make sure you have plenty of battery power and storage space. Time-lapse videos can be very battery intensive, so it’s important to have a backup plan.
Finally, be patient! These videos can take a long time to shoot, so it’s important to be patient and wait for the perfect shot.
The Edit: Software and Techniques for Processing Your Time-lapse Video
There is some popular software for editing videos for time-lapse. Once you have all your footage, import your footage into your editing software of choice. Start putting together your time-lapse video.
Remember to add music, text, or other effects to make your time-lapse video unique. This will help to smooth out the video and make it look more fluid. Then, export your video and share it with the world!
Advanced Tips: Get the Most Out of Your Time-Lapse Project
Now that you know the basics of shooting and editing a time-lapse video, it’s time to put your skills to the test. Go out and shoot your own time-lapse video, then edit it using the techniques you’ve learned in this guide.
Just follow the steps outlined in this guide. You will then be able to shoot and edit a stunning time-lapse video that is sure to impress your viewers. Check out our page today for more info!


