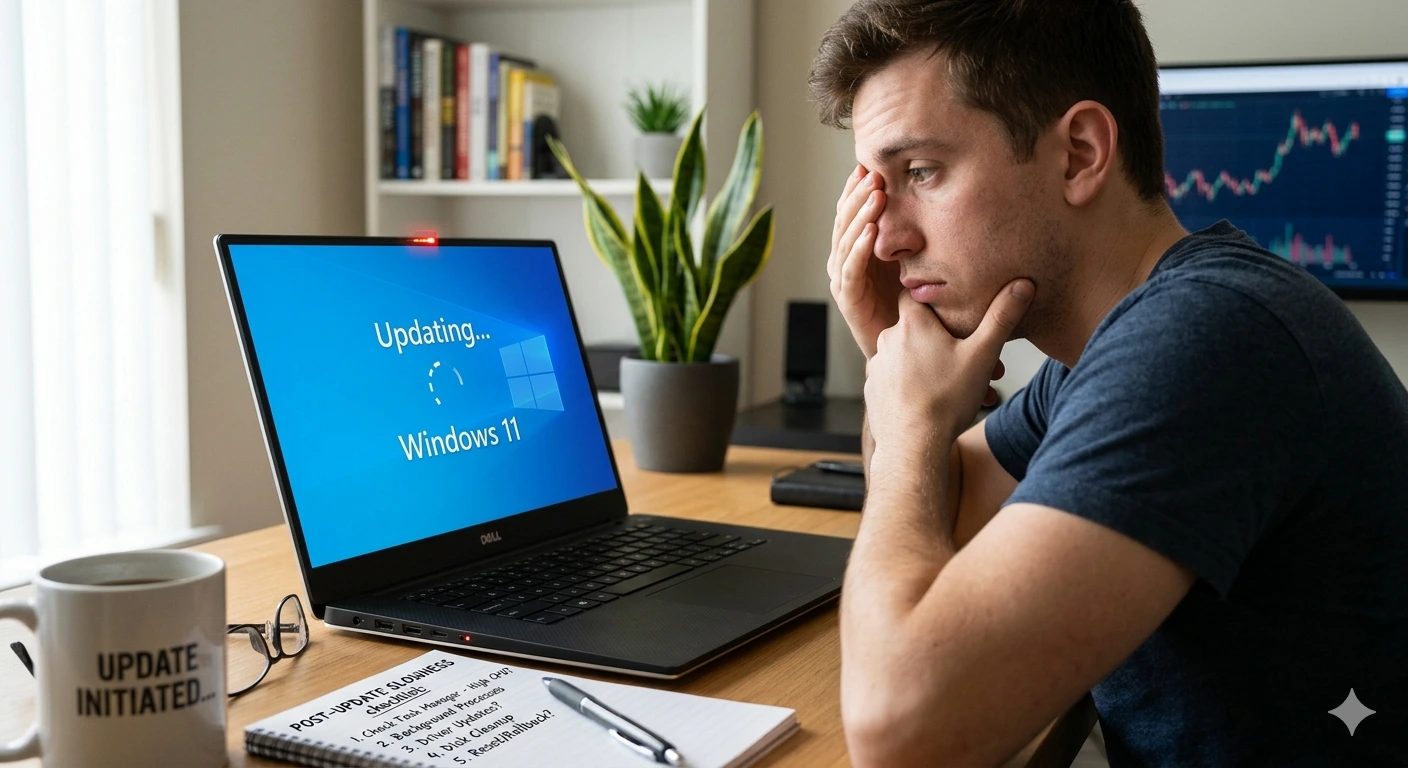
You didn’t change anything. You didn’t install new software. You didn’t accidentally delete a system file. You just let Windows do its thing overnight — and now your PC feels like it’s running through wet concrete.
If your Windows 11 PC is slow after an update, you’re not imagining it and you’re definitely not alone. This is one of the most searched Windows complaints online, and it happens to people on brand-new machines just as often as it happens on older ones.
The frustrating part is that Microsoft never sends you a message saying, “Hey, that update we just pushed is doing seven background tasks and that’s why your PC is slow.” You’re just left wondering what went wrong.
Here’s the truth: a slow PC after a Windows 11 update is almost never permanent. There are specific, fixable reasons it happens — and once you know what they are, the fixes are straightforward. Let’s go through all of them.
Why Windows 11 Gets Slow Right After an Update (The Real Reason)
Before jumping into fixes, it helps to understand what Windows is actually doing behind the scenes after an update installs. Because the slowdown isn’t random — it’s caused by a predictable set of background processes that all kick off at the same time.
Here’s what’s happening on your PC right after an update:
When a major Windows update lands, Windows immediately starts several intensive background tasks:
- Search Indexing rebuilds its index to account for new or changed system files. This alone can consume 1–2GB of RAM and sustained disk activity for hours.
- Windows Defender runs a full system scan because new files arrived — it wants to verify everything is clean.
- Delivery Optimization uses your internet connection to share the update with other PCs on your network (and sometimes beyond it).
- Telemetry and Diagnostics collect data about how the update performed on your system and send reports back to Microsoft.
- Driver updates may reinstall or reconfigure themselves in the background.
- App compatibility checks scan your installed software against the new Windows version.
All of these processes run simultaneously, competing for your CPU, RAM, and disk. On a machine with a fast SSD and 16GB of RAM, you might barely notice. On an 8GB machine with an older processor? It can feel completely unusable for an hour or more.The good news: most of these processes are temporary. If you can wait 1–2 hours after a major update and then restart, your PC often returns to normal speed on its own. But if the slowness persists beyond that — or if it’s been days — something else is going on and needs a more active fix.
Fix 1: Wait It Out — But Set a Timer
This might sound like a non-answer, but it’s genuinely the right first step. Give Windows 1–2 hours after an update installs before deciding anything is wrong. Most of the background indexing, scanning, and telemetry tasks complete within that window.
What you should do during that window:
Open Task Manager (Ctrl + Shift + Esc) and watch the Disk column on the Processes tab. If you see consistent 95–100% disk usage from processes like “Windows Search,” “Antimalware Service Executable,” or “TiWorker.exe” — those are the expected post-update background tasks. They will finish.
If your disk usage is still pegged at 100% after 2 hours, or after a full restart — that’s when you move on to the fixes below.
Fix 2: Restart Your PC Properly (Not Just Sleep or Shut Down)
This sounds obvious, but there’s a catch. Windows 11 uses a feature called Fast Startup that doesn’t actually perform a full restart when you click “Shut Down.” It saves a snapshot of the system state to make the next boot faster — but it also means that post-update processes sometimes don’t complete properly.
To do a true full restart:
- Click the Start menu → Power button
- Hold the Shift key while clicking Restart
- Windows will perform a complete shutdown and fresh boot, bypassing Fast Startup
- Alternatively, use Start → Power → Restart (not Shut Down — Restart always does a full cycle).
After a full restart, many post-update slowdowns resolve themselves because Windows gets a clean slate to finish whatever it was processing.
Fix 3: Check What’s Actually Eating Your Resources
Before applying any fix blindly, spend two minutes identifying the real culprit. Open Task Manager (Ctrl + Shift + Esc) and check three columns:
- CPU column — sorted high to low
- Memory column — sorted high to low
- Disk column — sorted high to low
Common post-update resource hogs and what they mean:
| Process Name | What It Is | What To Do |
| TiWorker.exe | Windows Update worker — still processing | Wait 1–2 hours, it will stop |
| WaasMedic.exe | Windows Update health repair tool | Let it finish — it fixes update errors |
| SearchIndexer.exe | Rebuilding search index | Wait or disable indexing temporarily |
| MsMpEng.exe | Windows Defender scanning new files | Let it finish — essential |
| SIHClient.exe | Update detection service | Temporary — will stop on its own |
| CompatTelRunner.exe | Compatibility telemetry scan | Safe to end task; returns after restart |
| WSAPPX | Microsoft Store updating apps | Let it finish |
If TiWorker.exe or WaasMedic.exe are the culprits, don’t end them — they’re doing important post-update work. Everything else in the table can be ended temporarily if needed.
Fix 4: Run the Windows Update Troubleshooter
Sometimes an update doesn’t install cleanly — it leaves behind partial files, broken components, or stuck background tasks that keep running long after they should have stopped. Microsoft’s own Update Troubleshooter is surprisingly good at finding and fixing these situations.
How to run it:
- Press Windows + I to open Settings
- Go to System → Troubleshoot → Other troubleshooters
- Find Windows Update and click Run
Let it scan, apply any fixes it finds, and restart when prompted
This tool resets update components, clears partial update files, and restarts relevant services — all automatically. It fixes the problem in about half of cases where a bad update install is causing ongoing slowness.
Fix 5: Clear the Windows Update Cache
The update cache is a folder where Windows stores downloaded update files while installing them. After installation, these files should be deleted automatically. Sometimes they aren’t — and a multi-gigabyte cache of leftover files can slow down disk performance and cause background services to keep processing.
How to safely clear it:
- Press Windows + R, type services.msc, hit Enter
- Find Windows Update in the list, right-click it, and select Stop
- Now press Windows + R again and type: C:\Windows\SoftwareDistribution\Download
- Select all files inside that folder (Ctrl + A) and delete them
- Go back to Services, right-click Windows Update, and select Start
- Restart your PC
You’re not deleting anything important — this folder only holds cached update downloads. Windows will re-download whatever it needs from scratch if required. This fix frequently resolves persistent slowness caused by corrupted or incomplete update files.
Fix 6: Run SFC and DISM to Repair System Files
Sometimes a Windows update overwrites a system file incorrectly, or a file gets corrupted mid-install. When that happens, Windows starts running repair processes in the background trying to fix itself — which explains the sustained slowness days after an update.
The System File Checker (SFC) and DISM tool are built-in utilities that detect and repair exactly this type of damage.
Step 1 — Run SFC:
- Right-click the Start menu and select Terminal (Admin)
- Type: sfc /scannow and press Enter
- Wait for it to complete — this takes 10–20 minutes
- If it finds errors, it will repair them automatically
Step 2 — Run DISM (if SFC found issues or you’re still experiencing slowness):
- In the same Terminal window, type: DISM /Online /Cleanup-Image /RestoreHealth
- Press Enter and wait. This contacts Microsoft’s servers to verify and repair Windows system files against a known-good reference. It takes 15–30 minutes depending on your internet connection.
- Restart your PC after both tools complete. If corrupted system files were causing background repair processes to run constantly, your PC should feel noticeably faster after this.
Fix 7: Roll Back the Problematic Update
If everything else fails and your PC has been consistently slow since a specific update, the most direct fix is to uninstall that update. Windows 11 keeps a record of installed updates and lets you remove them individually — at least for a limited window after installation.
How to uninstall a specific Windows update:
- Press Windows + I → Windows Update → Update history
- Scroll down and click Uninstall updates
- Find the most recent update (sorted by date)
- Click Uninstall next to it and follow the prompts
- Restart your PC
Quality updates (security patches) can usually be uninstalled this way. Feature updates (like moving from Windows 11 22H2 to 23H2) have a 10-day rollback window — after that, the option disappears. If you’re outside that window, you’ll need to use a different fix.
To check if you’re within the rollback window for a feature update: Go to Settings → System → Recovery and look for “Go back” under Recovery options. If it’s greyed out, the window has passed.
Fix 8: Update Your Drivers (Especially GPU and Network)
One of the most overlooked causes of post-update slowness: Windows Update sometimes replaces your manufacturer’s optimized drivers with generic Microsoft drivers. This is especially common for GPU drivers (NVIDIA, AMD, Intel) and network adapters.
A generic GPU driver can cause the display to render inefficiently, making everything from scrolling to opening windows feel sluggish. A generic network driver can cause background processes that rely on internet access to run longer than expected.
How to check:
- Right-click the Start menu → Device Manager
- Expand Display adapters — if you see “Microsoft Basic Display Adapter” instead of NVIDIA/AMD/Intel, your GPU driver was replaced
- Expand Network adapters and look for the same pattern
The fix:
Go directly to the manufacturer’s website:
- NVIDIA drivers: nvidia.com/drivers
- AMD drivers: amd.com/support
- Intel drivers: intel.com/content/www/us/en/download-center
Download and install the latest driver for your hardware. This frequently resolves post-update performance issues, especially sluggish graphics performance.
Fix 9: Disable Delivery Optimization
Windows 11 has a feature called Delivery Optimization that — without your permission — uses your internet connection to upload Windows updates to other computers. While Microsoft frames this as helpful, it consumes real upload bandwidth and can slow down your network connection noticeably after an update installs.
How to disable it:
- Press Windows + I → Windows Update → Advanced options
- Click Delivery Optimization
- Toggle off “Allow downloads from other PCs”
This doesn’t stop you from receiving updates — it only stops your PC from acting as a distribution server for other machines. Most home users have no reason to leave this enabled.
Fix 10: Pause Updates Temporarily and Monitor Performance
If your PC slows down every time an update installs, you may want to pause updates for a short period — giving you a stable baseline to confirm whether updates are the cause, and buying time for Microsoft to release a patch for any known issues with a recent update.
How to pause Windows updates:
- Press Windows + I → Windows Update
- Click “Pause for 1 week” (you can extend up to 5 weeks)
Use this time to monitor your PC’s performance. Check community forums like Reddit’s r/Windows11 or Microsoft’s own feedback hub for reports of widespread slowness from the specific update you received — if it’s a known issue, Microsoft usually patches it within 1–2 weeks.
Don’t leave updates paused indefinitely. Security updates are important. This is a diagnostic and recovery step, not a long-term strategy.
When to Be Concerned: Signs It’s More Than Just Post-Update Slowness
Most post-update slowdowns resolve within 24–48 hours. If you’re experiencing any of the following after that window, something more serious may be going on:
- Your PC is slow even after a full restart, days after the update
- Specific apps crash or fail to open that worked before
- Your display resolution reset and you can’t change it back
- Error messages appear at startup
- Blue Screen of Death (BSOD) occurs
In these cases, the SFC/DISM repair (Fix 6) and driver update (Fix 8) are your best starting points. If those don’t work, the update rollback (Fix 7) is the most direct path back to a working system.
Frequently Asked Questions
Feature updates (like version upgrades) make far more changes to the system than security patches. They rebuild more of the search index, trigger more compatibility checks, and often install updated drivers — all at once. Security patches are comparatively lightweight.
For most users, post-update slowness from background tasks resolves within 1–3 hours. If it persists beyond 24 hours after a full restart, something needs to be fixed — work through the steps above.
Not permanently — security patches protect you from real threats. Using the pause feature (Fix 10) to delay updates by a week or two is a reasonable middle ground that lets early adopters find issues before your system is affected.
Yes, temporarily. Search indexing and Windows Defender scanning are the usual culprits. If 100% disk usage continues for more than a few hours, clear the update cache (Fix 5) and run SFC (Fix 6).
Rarely, but it can happen. Updates can replace optimized drivers with generic ones, overwrite system files incorrectly, or conflict with specific hardware configurations. That’s what Fixes 6, 7, and 8 address.
Final Thoughts
A slow Windows 11 PC after an update is annoying, but it’s almost always fixable. Start with the simple stuff — wait it out, do a proper restart, check Task Manager — before diving into the more involved repairs.
If you’re regularly experiencing post-update slowdowns, the most valuable habit you can build is pausing updates for a week before they install. That one-week delay often means you get a patched version of the update with known issues already fixed, rather than being the first wave of users to discover the problems.Your PC is not broken. Windows just needs a little cleanup after its own maintenance work — and now you know exactly how to do it.
Related Article-
How to Fix High RAM Usage on Windows 11 Without Reinstalling
How to Disable Windows 11 Startup Programs the Right Way