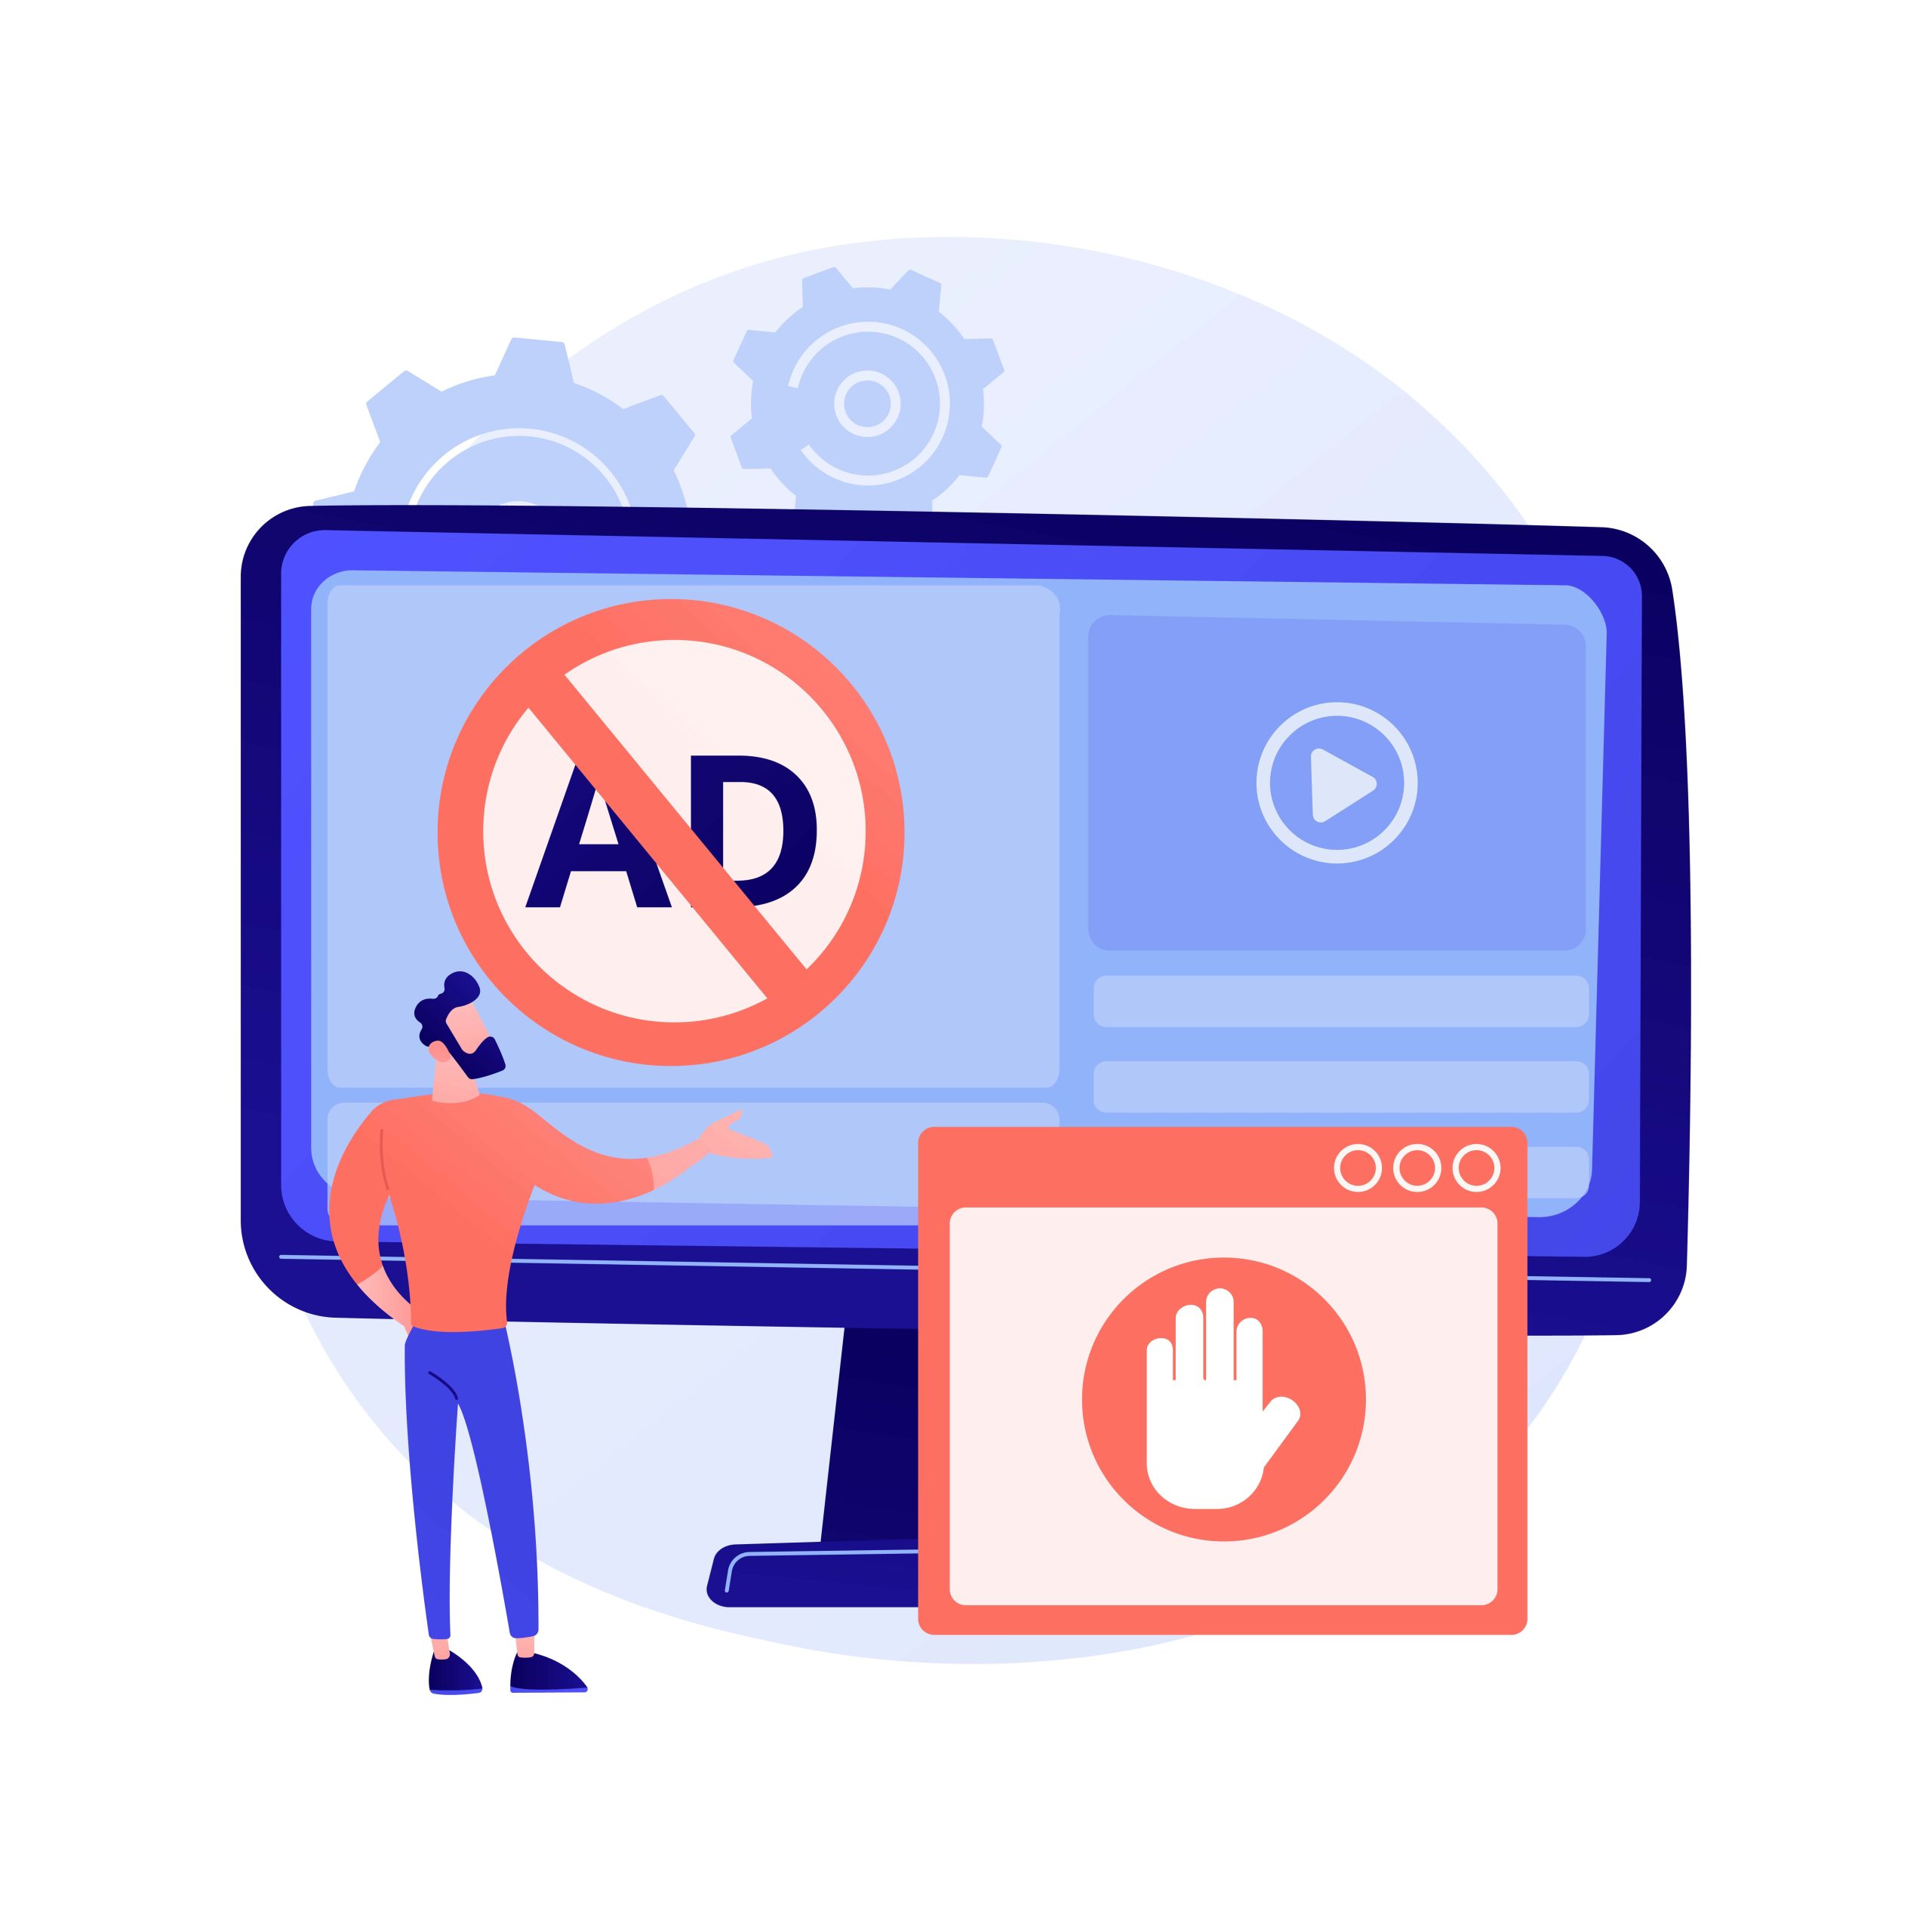
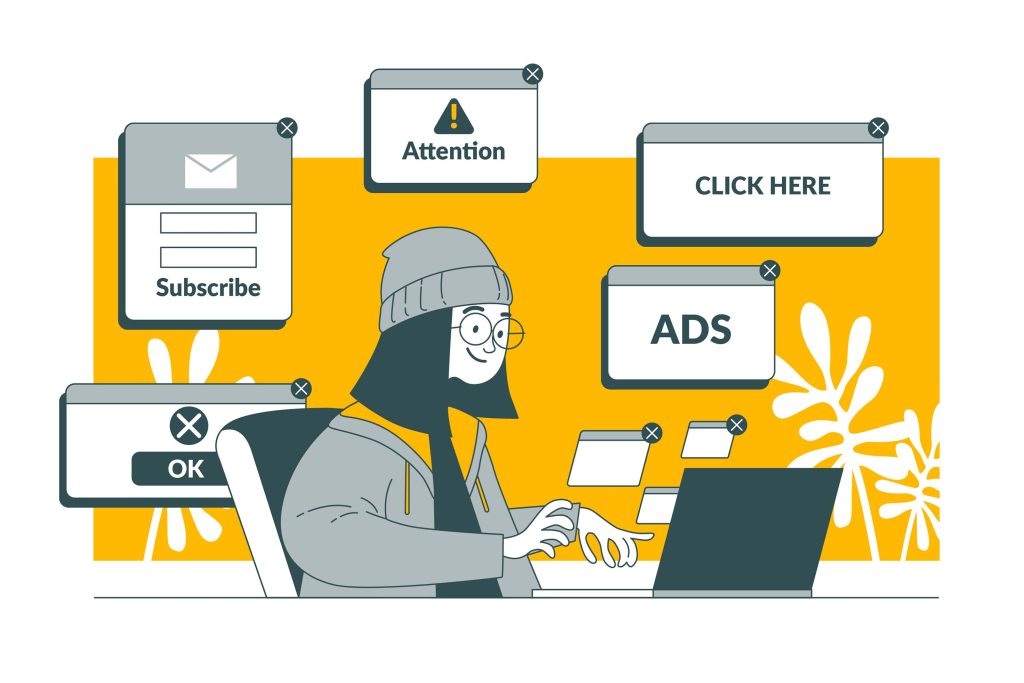
Dealing with unwanted ads and pop-ups on streaming sites like bflix.gg can disrupt your viewing experience. Users often seek ad blockers for Bflix primarily due to the frequent and sometimes intrusive ads and pop-ups that appear on the platform. These ads can disrupt the viewing experience, especially when they pop up during a movie or a show. Since Bflix is a free service, it relies heavily on advertisements for revenue. However, these ads can be excessive or intrusive, leading to frustration among users.
Ad blockers help significantly reduce or completely eliminate these advertisements, providing a smoother and more enjoyable streaming experience. They can also enhance the overall usability of the site by preventing potential malware or unwanted redirects that sometimes come with online ads. By using ad blockers, viewers can focus on the content without constant interruptions, making their time on Bflix more pleasant and efficient. Here’s an expanded guide on each step to effectively block these interruptions.
What is Bflix?
Bflix is a website where you can watch movies and TV shows for free. It’s quite popular because it has a lot of different types of movies and shows, from the newest ones to old favorites. The website is easy to use, so you can find what you want to watch without any trouble. Since Bflix is free, you’ll see ads and pop-ups while you watch, which is how they keep the site running without charging viewers. It’s a good option for people who don’t want to pay for a streaming service and just want to watch something without any commitment.
Step By Step Block Ads & Pop-ups for Bflix
Step 1: Use an Ad Blocker
Choosing an Ad Blocker
Research is key. Look for ad blockers with high ratings and positive reviews. Some popular options include AdBlock, uBlock Origin, and AdGuard. Consider factors like ease of use, customization options, and whether the ad blocker is regularly updated to combat new types of ads.
Installing the Ad Blocker
- Go to your web browser’s extension store (e.g., Chrome Web Store for Google Chrome).
- Type the name of the ad blocker in the search bar.
- Click on the ad blocker from the search results and select ‘Add to Chrome’ or a similar option for your browser.
- Wait for the installation to complete.
Configuring Ad Blocker Settings
- Click on the extension icon in your browser’s toolbar.
- Open the settings or options menu within the ad blocker.
- Some ad blockers allow you to create a ‘whitelist’ of sites where ads won’t be blocked. Adjust these settings as needed.
- If available, enable additional features like anti-tracking or malicious site blocking for enhanced protection.
Step 2: Adjust Browser Settings
Enable Pop-up Blocker
- Go to your browser settings (usually accessible through a menu in the top right corner of your browser).
- Find the ‘Privacy and Security’ section.
- Locate the pop-up blocker settings and ensure it is turned on.
- Some browsers allow you to manage exceptions; configure these as needed.
Disable Notifications
- In your browser settings, look for ‘Site Settings’ or ‘Notifications’.
- You will see a list of sites that have requested to show notifications.
- Block or remove permissions for sites you don’t want to receive notifications from.
Step 3: Use a Browser with Built-in Ad Blocking
Selecting a Browser
Research browsers like Brave or Opera that come with built-in ad-blocking features. These browsers are designed to enhance privacy and reduce ads without needing additional extensions.
Downloading and Installing
- Visit the official website of the browser.
- Download the installer file.
- Run the installer and follow the on-screen instructions to complete the installation.
Enabling Ad-Blocking Features
- Upon installation, these browsers typically have ad-blocking enabled by default.
- Check the settings to confirm or adjust the level of ad-blocking and tracking protection.
Step 4: Regularly Clear Cache and Cookies
Accessing Browser Settings
Go to your browser’s menu and find the option to ‘Clear Browsing Data’ or a similar phrase.
Selecting Cache and Cookies to Clear
Choose the time range (like ‘All time’ or ‘Last hour’) and select ‘Cached images and files’ and ‘Cookies and other site data’. Clearing these helps remove residual data that could be used for ad targeting.
Clearing Data
Confirm your selection and clear the data. This can also help in improving browser performance.
Step 5: Consider a VPN with Ad-Blocking Capabilities
Selecting a VPN Service
Look for VPNs that offer additional features like ad-blocking. Services like NordVPN or CyberGhost are known for these features. Ensure the VPN is reputable and offers strong privacy protections.
Installing and Activating the VPN
- Download the VPN from its official website.
- Install the application on your device.
- Log in and activate the VPN. Ensure the ad-blocking feature is turned on in the settings.
Step 6: Use a Custom DNS Server
Understanding Custom DNS Servers for Ad Blocking: DNS (Domain Name System) servers translate domain names (like bflix.gg) into IP addresses. Some custom DNS servers are designed to block requests to known ad-serving domains, thereby preventing ads from loading. Services like AdGuard DNS or NextDNS are popular choices for this purpose.
Choosing a Custom DNS Service:
- Research to find a reliable DNS service that offers ad blocking. Look for services with strong privacy policies and positive user feedback.
- Consider whether the service is free or paid and what additional features it offers (like parental controls or malware protection).
Configuring Your Device to Use the Custom DNS
The configuration process varies depending on your device (PC, smartphone, router, etc.).
For PC
- Go to ‘Control Panel’ > ‘Network and Internet’ > ‘Network and Sharing Center’ > ‘Change adapter settings’.
- Right-click on your active network connection and select ‘Properties’.
- Select ‘Internet Protocol Version 4 (TCP/IPv4)’ and click ‘Properties’.
- Choose ‘Use the following DNS server addresses’ and enter the DNS addresses provided by your chosen DNS service.
For smartphones
- Go to the Wi-Fi settings.
- Tap on your connected network.
- Look for DNS settings and enter the DNS addresses.
For routers
- Log into your router’s web interface.
- Find the DNS settings (often under WAN or Internet settings).
- Enter the custom DNS server addresses.
Testing the DNS Ad Blocking
- After setting up the DNS, visit a few websites or continue using bflix.gg.
- Observe if there is a noticeable reduction in ads and pop-ups.
- If you encounter any issues or find that ads are still prevalent, recheck your DNS settings or consider trying a different DNS service.
Conclusion
By following these detailed steps, you can effectively block ads and pop-ups on bflix.gg, enhancing your streaming experience. Stay informed about the ad-blocker and browser updates to maintain effective ad blocking. Consider the ethical aspects of using ad blockers, as ads are a key revenue source for many free streaming services.