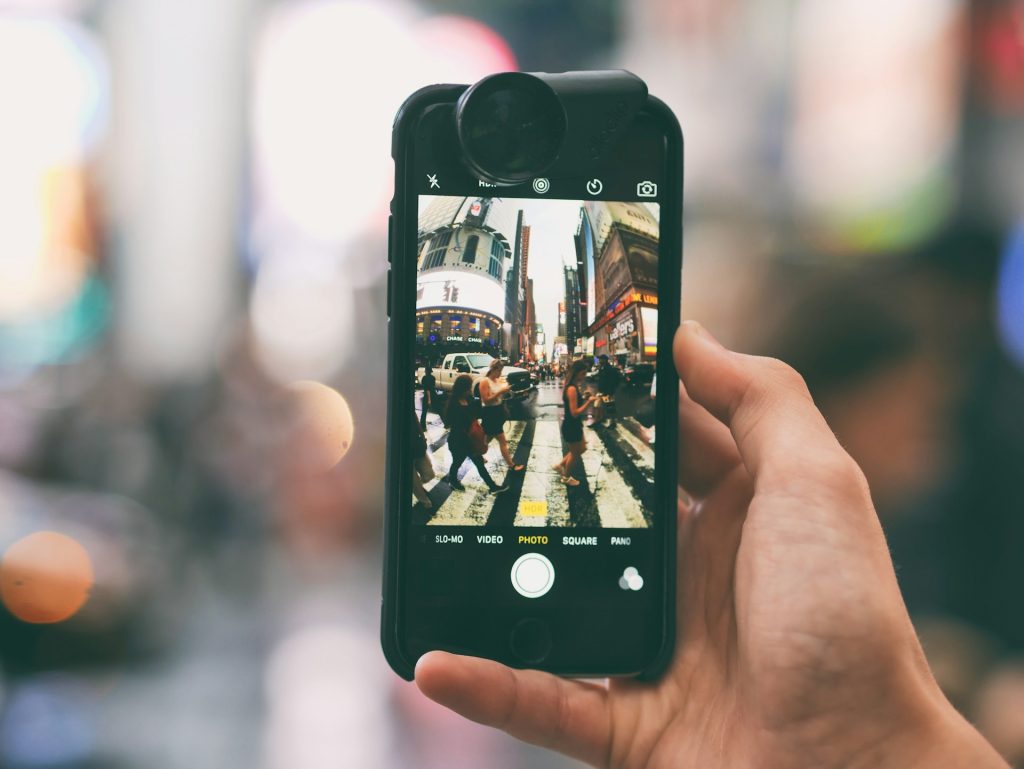
iPhone photography, commonly known as iPhoneography, refers to the art and practice of taking photographs with an Apple iPhone. It’s not just about snapping casual shots; it embodies a whole creative field where the iPhone is the primary tool for capturing, editing, and sharing photographs.
This genre of photography has gained immense popularity due to the iPhone’s advanced camera technology, high-quality image output, and the convenience of having a powerful camera always at hand.
The significance of iPhone photography lies in its blend of accessibility and innovative technology, allowing both amateur and professional photographers to shoot high-quality images without the need for traditional, bulky camera equipment.
The iPhone camera’s evolution over the years has incorporated sophisticated features like high-resolution sensors, optical zoom, portrait mode with depth control, and the ability to shoot and edit in RAW format. These advancements have enabled iPhone users to capture photos with remarkable clarity, detail, and artistic expression.
Essential iPhone camera setting to get a photo like DSLR
To achieve DSLR-like photos with an iPhone, understanding and utilizing the essential camera settings is crucial. These settings give you control over the photographic elements, allowing you to capture images with the desired depth, clarity, and artistic flair. Here’s a detailed look at essential iPhone camera settings you should master.
1. Exposure Adjustment
Description: Exposure determines how light or dark your image will be. An incorrectly exposed photo can be too bright (overexposed) or too dark (underexposed).
How to Use: Swipe up or down on the screen to adjust the exposure slider that appears next to the focus box in the Camera app. Increase it for darker scenes or decrease it for overly bright areas.
DSLR-like Benefit: Manually adjusting the exposure can help you capture more balanced shots, mimicking the light sensitivity control you’d get from a DSLR.
2. Focus Control
Description: Focus is essential for dictating which part of your image is sharp and clear.
How to Use: Tap the part of the image you want to focus on; this will also set the exposure for that area. For more advanced control, use a third-party camera app that allows for manual focus.
DSLR-like Benefit: Precise focus control allows for sharp subjects with a beautifully blurred background, similar to the depth of field control in DSLRs.
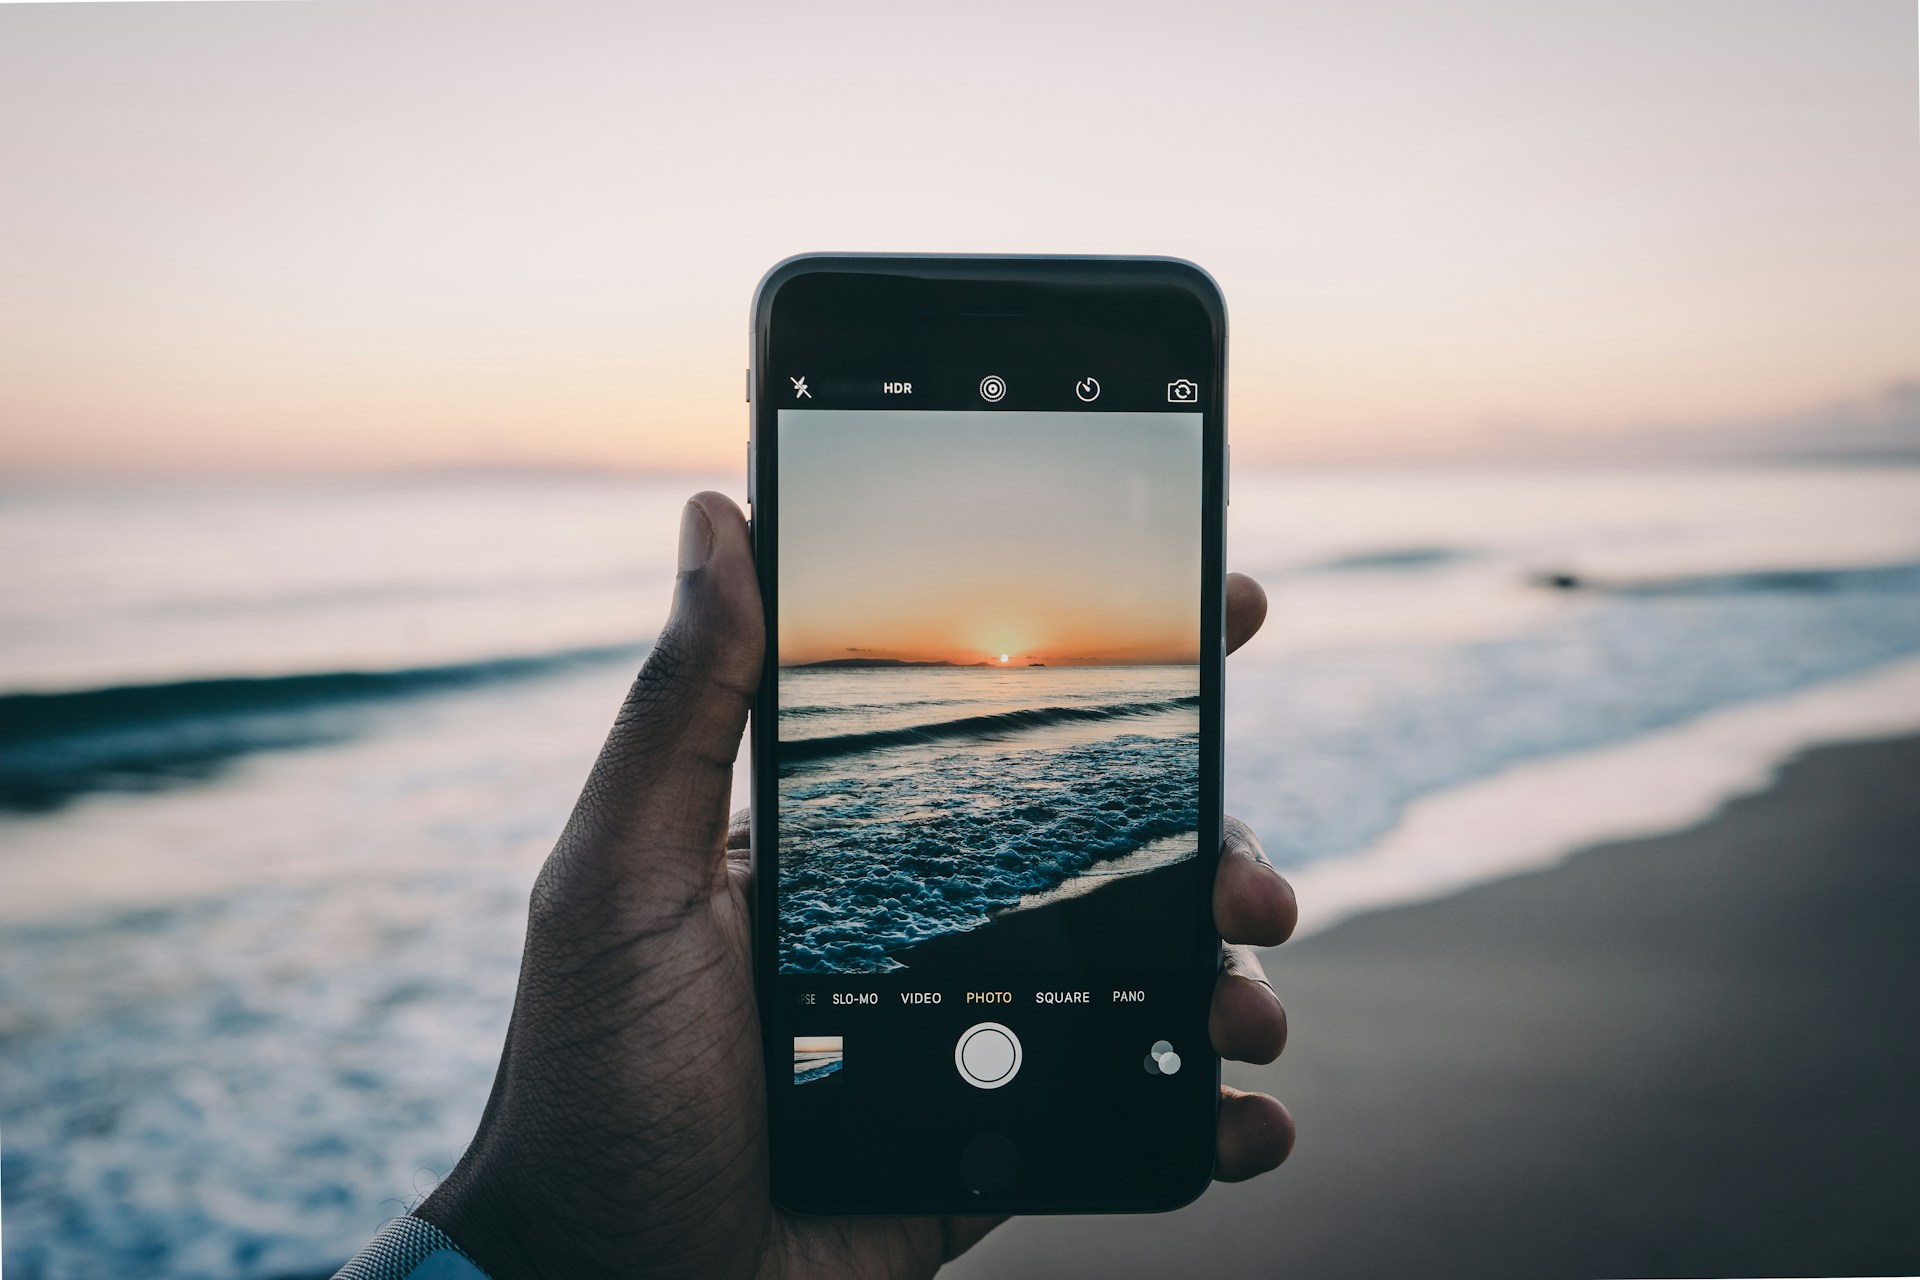
3. HDR (High Dynamic Range)
Description: HDR combines several exposures of the same photo to create a single image with greater detail in the highlights and shadows.
How to Use: Enable HDR mode in your camera settings. The iPhone camera automatically merges the best parts of three quick exposures into one photo.
DSLR-like Benefit: HDR mode brings out more detail in your photographs, closely resembling the high dynamic range imaging typical of DSLR cameras.
4. Portrait Mode (on supported models)
Description: This mode uses depth-sensing technologies to blur the background while keeping the foreground sharp, creating a bokeh effect.
How to Use: Select Portrait mode, then compose your shot by following the on-screen instructions to ensure proper distance from the subject. Experiment with different lighting and depth control for varied effects.
DSLR-like Benefit: Achieves a shallow depth of field effect, making the subject stand out with a blurred background, similar to the effect of a DSLR’s large sensor.
5. Live Photos and Long Exposure
Description: Live Photos capture a few seconds of video around your still image. Long Exposure can blur motion in the recorded Live Photo, creating effects like a waterfall’s smooth water or light trails.
How to Use: Enable Live Photos, take your picture, then swipe up on the photo in the gallery and apply the Long Exposure effect.
DSLR-like Benefit: Mimics the long exposure capability of DSLRs, allowing for creative shots with motion blur or light trails.
6. RAW Format Capture (on supported models)
Description: RAW photos are uncompressed images that give you the highest quality and flexibility for editing, retaining more detail, and allowing extensive post-processing adjustments.
How to Use: Use a third-party app that supports RAW photography, or utilize Apple’s ProRAW format if your iPhone supports it, and then edit the photo in a compatible app to fine-tune your image.
DSLR-like Benefit: Capturing in RAW mimics the post-processing flexibility associated with DSLR cameras, offering extensive control over the final image output.
By adjusting these settings to suit the shooting environment and your creative vision, you can significantly enhance your iPhone photography, producing images with quality, depth, and detail that closely resemble those taken with a DSLR camera. Mastering these settings is practice and experimentation, so take your time to explore and understand each setting’s impact on your photos.
13 Tips To Get DSLR Quality Photos from iPhone

1. Composition, Clarity, HDR, and Exposure Control
Composition is key to creating visually appealing images. Utilize the Rule of Thirds, leading lines, and symmetry to enhance your photos’ balance and interest. Focus is just as crucial; ensure your subject is sharp and clear. Employ HDR (High Dynamic Range) to balance the bright and dark areas of your photos, and manually adjust exposure to control the lightness and darkness, bringing out the best in every shot.
2. Macro Photography
Macro photography allows you to capture the beauty of small details. With your iPhone, you can explore this fascinating world, focusing closely on your subjects to reveal intricate textures and colors usually invisible to the naked eye. It’s a powerful way to turn ordinary subjects into extraordinary photos.
3. Enhance Shots with Lens Attachments
While the iPhone’s built-in lenses are versatile, additional lens attachments can significantly expand your photographic capabilities. Wide-angle, telephoto, or macro lenses can be attached to your iPhone, providing new perspectives and the ability to capture a variety of shots that wouldn’t be possible with the built-in camera alone.
4. Skip the Filters and Opt for Post-Processing
Rather than relying on preset filters, which can degrade the photo quality or impart an unnatural look, focus on post-processing your images. Use advanced editing apps to adjust the lighting, color balance, and sharpness. This approach gives you more control, allowing you to enhance your photos while maintaining a high-quality, professional look.
5. Stabilize Your Shots Using a Camera Stand
A camera stand or tripod is indispensable for eliminating camera shake, particularly in low-light settings or when capturing long-exposure shots. It ensures your iPhone is perfectly still, resulting in sharp, clear images. It’s also essential for self-portraits, group shots, or timed exposures, providing consistency and precision in your photography.
6. Manual Mode with Third-Party Apps
Unlock your iPhone’s photographic potential by using third-party camera apps like Halide or ProCamera. These apps provide DSLR-like control, allowing you to adjust ISO, shutter speed, and focus manually. Such precision enables you to respond to varying lighting conditions and capture scenes with the clarity, blur, or motion effects you envision. Experimenting with these settings can dramatically improve your photo’s aesthetic, giving you a hands-on approach to mobile photography that mimics the tactile satisfaction of using a DSLR.
7. Explore Advanced Composition Techniques
Engage with concepts like juxtaposition, where contrasting elements are placed together to create interesting visual narratives or employ the Golden Ratio to guide the viewer’s eye through the image in a natural, harmonious flow. These advanced techniques can transform your photographs from simple snapshots to compelling visual stories, enhancing the emotional and visual impact of your work.
8. Utilize Different Shooting Modes
Your iPhone is equipped with various shooting modes such as panorama for wide landscapes, burst for capturing fast action, and time-lapse for recording movement over time. Each mode has its unique application – panoramas can capture vast, scenic vistas; burst mode can freeze the perfect moment in a high-speed scene; and time-lapse can compress hours into seconds, offering a unique perspective on evolving scenes. Learning when and how to use these modes creatively can elevate your photography, allowing you to produce diverse and dynamic imagery.
9. Maximize the Potential of Portrait Mode
The Portrait mode on your iPhone uses depth-sensing technologies to create photos with blurred backgrounds, closely mimicking the bokeh effect of DSLR cameras. By adjusting the depth control and experimenting with different lighting options, you can enhance your subject’s prominence against a softly blurred background, adding a professional polish to your portraits. This mode is not just for people; it’s also effective for pets, objects, and other subjects, providing a creative tool to highlight your focal point with striking clarity.
10. Get Creative with Long Exposure
Use your iPhone’s Live Photos feature creatively by applying the Long Exposure effect, which can turn a few seconds of video into a stunning shot that captures time in a still image. This effect works wonders for smoothing waterfalls, blurring crowds, or capturing light trails at night. By holding your iPhone steady or using a tripod, you can create ethereal, dreamlike images that stand out for their artistic blur and motion, showcasing your ability to find beauty in movement and transformation.
11. Adjust Focus and Exposure Manually
Moving beyond automatic settings, manually adjusting your iPhone’s focus and exposure can significantly impact your photos’ quality. This manual intervention allows you to control the light and detail in your shot, ensuring your subject is perfectly illuminated and sharply in focus. It’s particularly beneficial in challenging light conditions or to achieve creative effects like silhouettes or highlights, offering you the flexibility to realize your vision for each photograph.
12. Utilize Editing Apps to Refine Your Photos
Using apps like Adobe Lightroom, Snapseed, or VSCO, you can fine-tune your images, adjusting exposure, color balance, and sharpness to bring out the best in your photographs. These photography apps and tools offer a range of advanced editing options, from subtle corrections to transformative alterations, allowing you to apply a professional touch to your mobile photography and craft images that truly stand out.
13. Keep Your Lens Clean and Scratch-Free
Maintaining the cleanliness of your iPhone’s lens is crucial for capturing clear, sharp images. A dirty lens can result in blurry photos, lens flare, or lack of contrast. Regularly wiping your lens with a soft, lint-free cloth can prevent these issues, ensuring your camera is always ready to capture high-quality images. Additionally, keeping the lens scratch-free is essential, as scratches can degrade image quality over time, leading to permanently distorted photos.
Conclusion
iPhoneography is not limited to the act of taking photos; it extends to the post-processing and editing of images directly on the device, using various apps that offer a range of filters, effects, and editing tools. This convenience of capturing and editing on the go, combined with the ability to instantly share photos online, has fostered a vibrant community of iPhone photographers who regularly showcase their work on social media platforms and photography forums.